How to Set up Python on a Mac
Beginning a new programming language can be a challenge. This tutorial will go through how to set up python on a Mac ( Windows users can go here). There are many schools of thought on the ‘best’ development environments, IDE’s, etc to work with. The goal of this article is to help you get up and running on a Mac writing Python using the Sublime Text IDE. Sublime Text is a simple IDE/text editor that can be used with a number of languages, including Python.
1. Download & Install Sublime Text
Visit http://www.sublimetext.com/2, and press the OS X button. When the download is complete, open the downloaded dmg file, and move the program to your applications folder.

2. Setup Local Environment
Once you have installed Sublime Text, you can open it from your Applications folder, and add it to your dock. As you learn more about Python and programming in general, you will need to become familiar with the command line. There are some tools packaged with Sublime Text that can make your life a lot easier. One of these is the ability to open files and Sublime itself from the command line. To start, search Spotlight in the upper right-hand corner of your Mac for a program called ‘Terminal’. This program is an extremely useful tool for a variety of things, including running Python programs.

From Terminal, we will set up a folder using the command ‘mkdir’. This command produces the same result as the ‘New Folder’ option you might be familiar with from Finder. Type ‘mkdir bin’ from Terminal. If you type ‘ls’ (show folders and files), you should see ‘bin’ listed. The full path of this is ~/bin, which we will use in a moment.

To use the bin folder in Terminal in the future, we will need to be able to access it in our Terminal’s profile. The profile is essentially a list of places that terminal can look for running programs and using core system tools. To add to your path, type:
vi ~/.bash_profile

This should open a file that contains commands that show where to look. Press the down arrow to the bottom of the file. Type ‘i’. You should now be able to insert text into the file. Type the following below the last line:
export PATH=~/bin:$PATH

This tells Terminal to look for the bin folder you created within its profile. To save the file, press escape, type ‘:wq’, then press enter. The file has been saved, but to use the new profile, we also need to tell terminal to use the latest version. To do this, type:
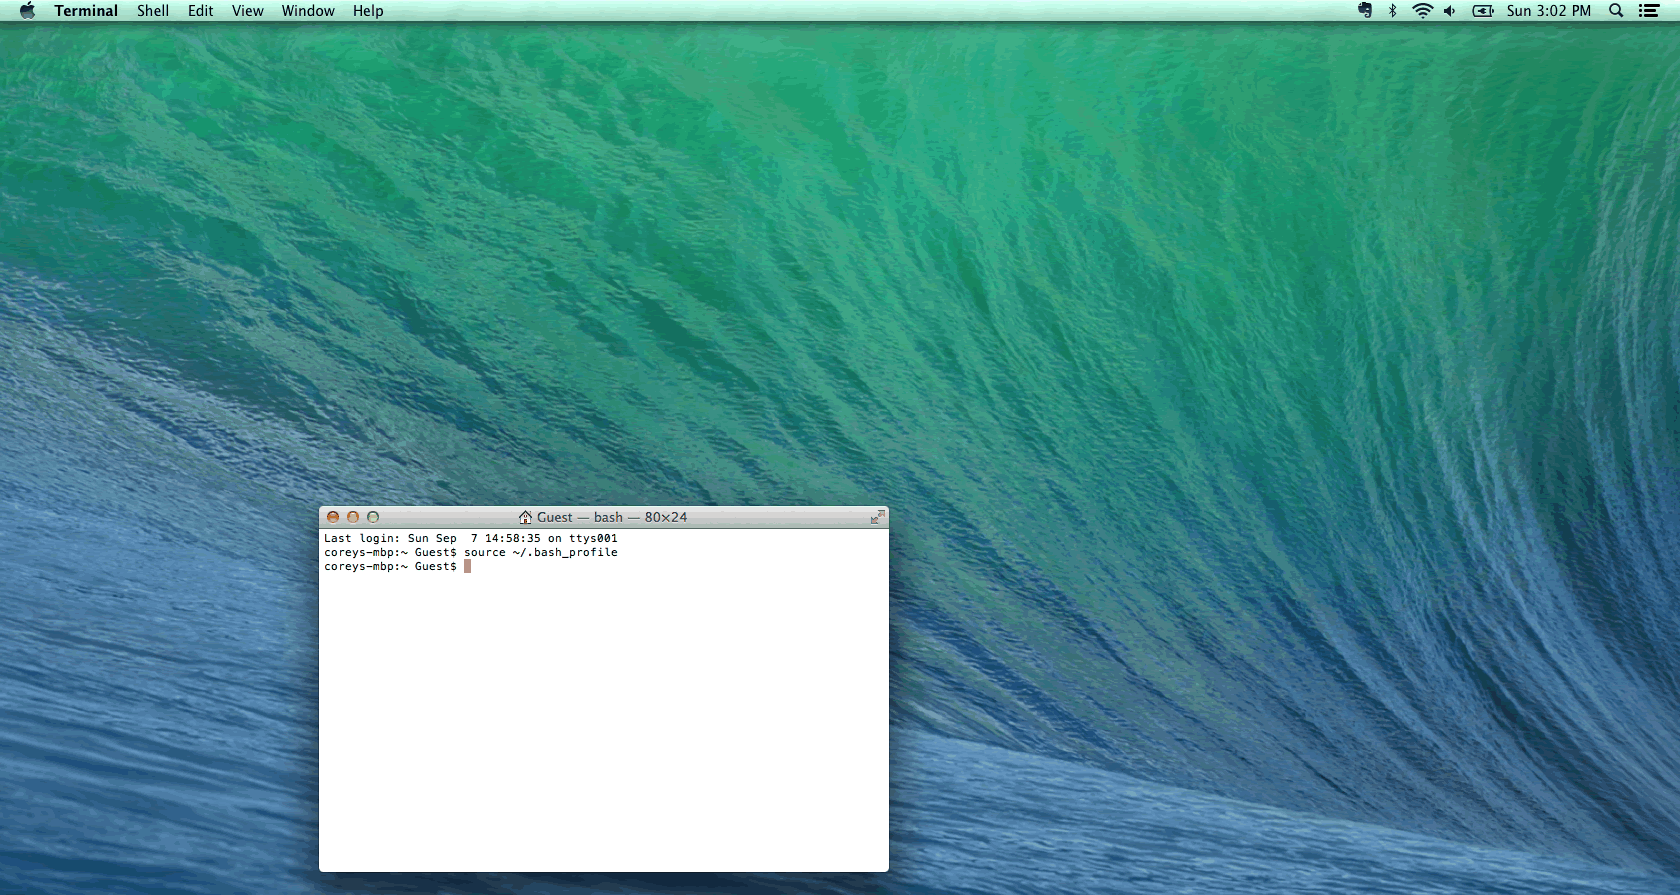
source ~/.bash_profile
3. Allow Terminal to use the Sublime command line tools directly
To setup the command line tools offered with Sublime Text, we will be creating a ‘symbolic link’ using Terminal. The command for this is ln -s . We will be using the Sublime Text app as the first file, and creating a link to that in the ‘bin’ folder we just created. This symbolic link will allow us to access Sublime using the command ‘subl’ from the command line. To do this, type the following in Terminal:

This will allow us to use the command ‘subl’ within the path we created in step 2 for the command line tools. Let’s try it! Type:
subl

You should now see Sublime Text open, with an empty file. Now we’re ready to create our first Python program.
4. First Python Program
First, save the file you have opened in step 3 in Sublime as ‘hello.py’ (using either File -> Save, or the command -> s keyboard shortcut). You will now see syntax highlighting when you start typing. Type the following:
print “Hello, world”

Save the file again. Now we’re ready to run the program. To do so, go back to Terminal, and type:
python hello.py

6. Be clear about the Python you are using
Because Python is installed by default on Macs, this runs automatically, and you should see “Hello, world” in your Terminal. We are not done here, though. It’s important to understand that not all operating systems have the same Python environment. We also might want to install a later version of Python in the future. This makes it important to tell this program to run from the exact version of Python that we want it to run on so we don’t unexpectedly run it from another version of Python. To find out where Python is on your system, type in ‘which python’ into your Terminal. This will display the exact location of Python that is on your system. Copy the output, and come back to your hello.py file. At the top of the file, type:
#!

Now paste the Terminal output. If there is a ‘/python’ at the end of the line, remove this, and replace it with a ‘ python’. The line should now say something like:
#!/usr/local/bin python
or
#!/usr/bin python

This tutorial outlined how to set up a Python IDE on a Mac, and how to set up a Python file to run from the exact version of Python you want it to, every time. Python is a great language with many features, and you’ve learned a few wayss to get up and running using Python on a Mac.